28
Dec 2016
- BY propavers
- POSTED IN cities
- WITH 0 COMMENTS
- PERMALINK
- STANDARD POST TYPE
Call now for a Free Estimate (415) 325-2505

ProPavers provides quality service, in designing, and installing paving stone driveways, walkways, patios and pool sides in residential and commercial properties throughout the San Francisco Bay Area. Interlocking Paver Installation in Alameda
Our goal is to provide the best in quality home improvement solutions. We view each assignment as a challenge and opportunity to excel, to meet and then surpass the expectations of our customers. We have a commitment to quality, work completed on schedule and within specifications.
Beautify your outdoor living spaces with Propavers.com’s elegant collection of pavers, retaining walls, patio stones and edging. Our stone and concrete brick paving products transform landscapes into beautiful dreamscapes
Benefits of Interlocking Paving Stones
- The interlocking paving stones used by ProPavers come with a 25-Year Warranty against breaking and cracking. This is one of the many paving stone advantages that no other paving surface can match.
- Our interlocking pavers are non-skid, non-slip and guaranteed to endure even the harshest conditions – from shifting soil to extreme hot and cold temperatures – without cracking or crumbling.
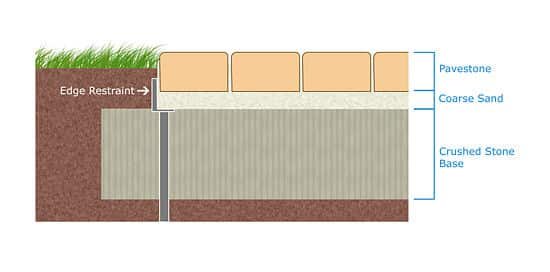
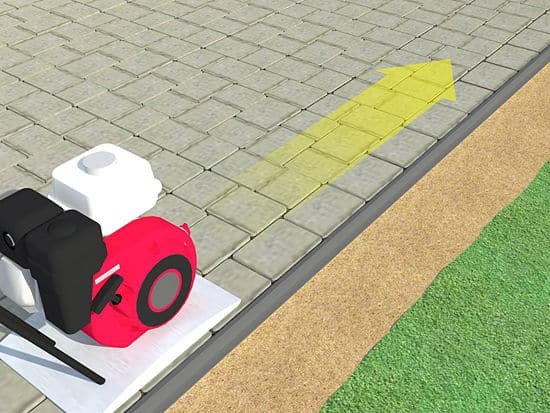
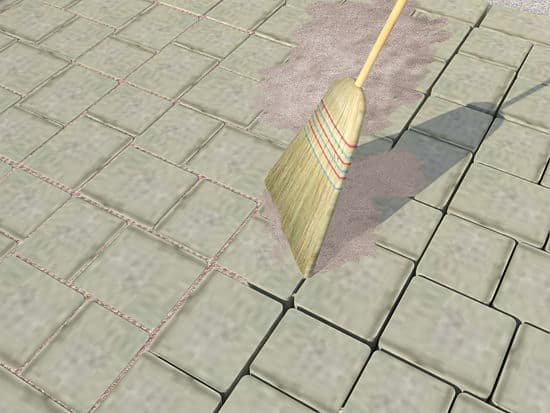
- Our interlocking paving stones are sand jointed to allow flexibility, which eliminates the possibility of joints cracking.
- All of our paving stones are manufactured to meet American Society for Testing and Materials (ASTM) standards of at least 8,000 PSI, approximately four times stronger than concrete, and 10-20 times the strength of asphalt.
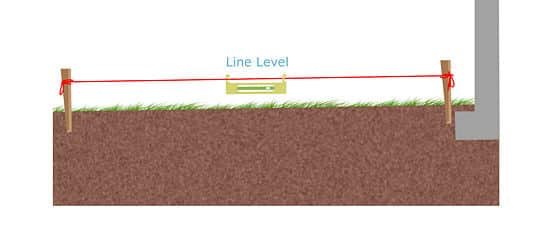
- Clearing snow in the dead of winter has never been easier! Our driveway paving stones are uniformly sized, allowing for perfectly straight lines and a completely flat surface. This is one of those unexpected paver stone benefits that our customers rave about.
- Our high-quality driveway paving stones will not expand due to moisture absorption, which causes traditional pavers to lift.
- All of our paving stones are colored with a variety of imported oxides, which reduce fading and keep the surface looking brand new for many years to come.
- Concerned about accessing underground plumbing? No problem! Pro Interlocking Paving installers remove only the minimal number of stones needed to gain access then seamlessly replace them for a flawless finish.
- Choose from more than 50 colors, shapes and sizes of driveway paving stones and have them creatively customized to suit your style.
- Our paving stones are an attractive alternative to concrete for a driveway resurface. They are 60 mm thick, providing extra strength for vehicular traffic.
We asked our client about their ProPavers experience – Local Paver in Alameda
and here is what they say!
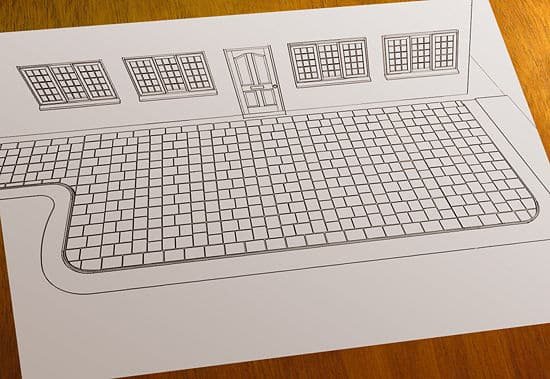
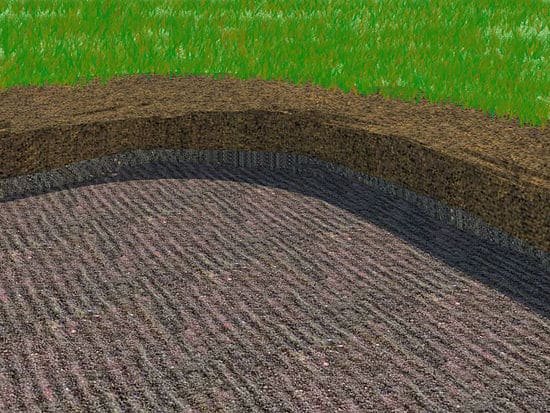
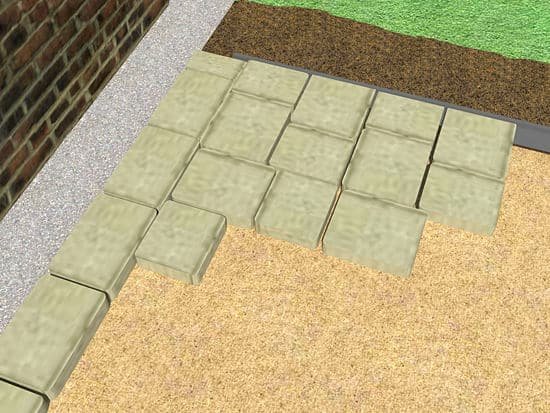
Paving Stone Installation in Alameda
Our Photo Portfolio:


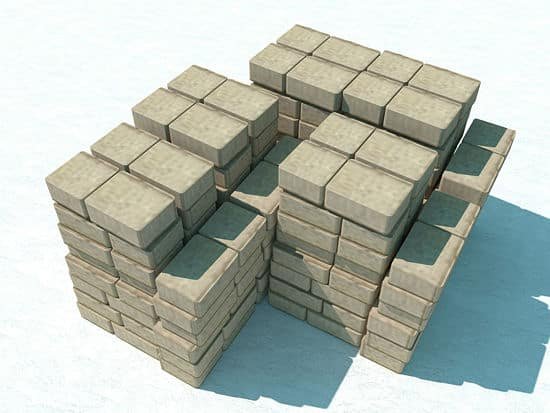
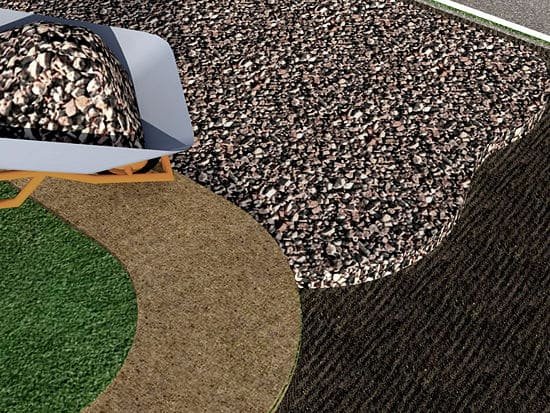
Interlocking Paver Installation in Alameda
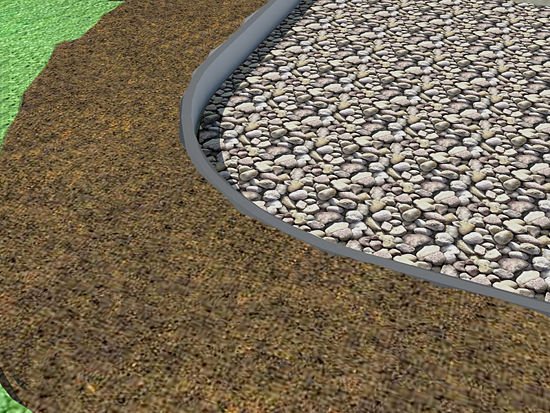
Paving Stone
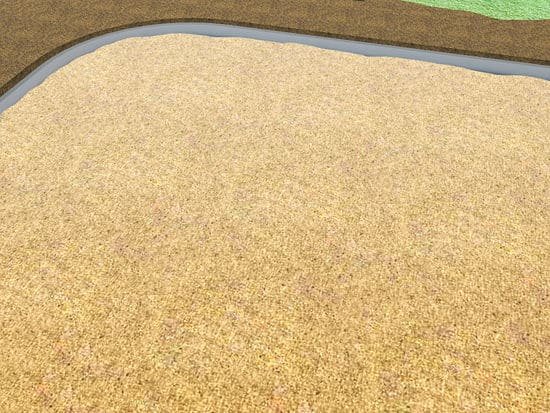
Interlocking Paver Installation in Alameda